Getting Started
API Reference
The API Reference provides full documentation of all available endpoints and fields. It includes our most detailed technical documentation and should serve as your primary point of reference when using the API.
LeafLink Environments
We strongly recommend testing your integration within one of our sandbox environments. Both environments are downstream only. Actions you make in sandbox or integrations will not impact your live LeafLink data or user account.
https://sandbox.leaflink.com. This environment uses a clone of live LeafLink data and code, updated and reset nightly at 12:00am EST. If you create a user login and API key in production, it will be available in the sandbox environment the following day.
This environment is available to anyone with a LeafLink user account, and is recommended for use for any custom integration development.
https://leaflink-integrations.leaflink.com. This environment also uses a clone of live LeafLink data and code. However, the code is updated with every production deployment, and the data is never reset. We recommend using the integration environment if you need your test data to persist.
This environment is reserved for approved development partners of LeafLink, and use needs to be approved and provisioned by the LeafLink integration team.
Applications
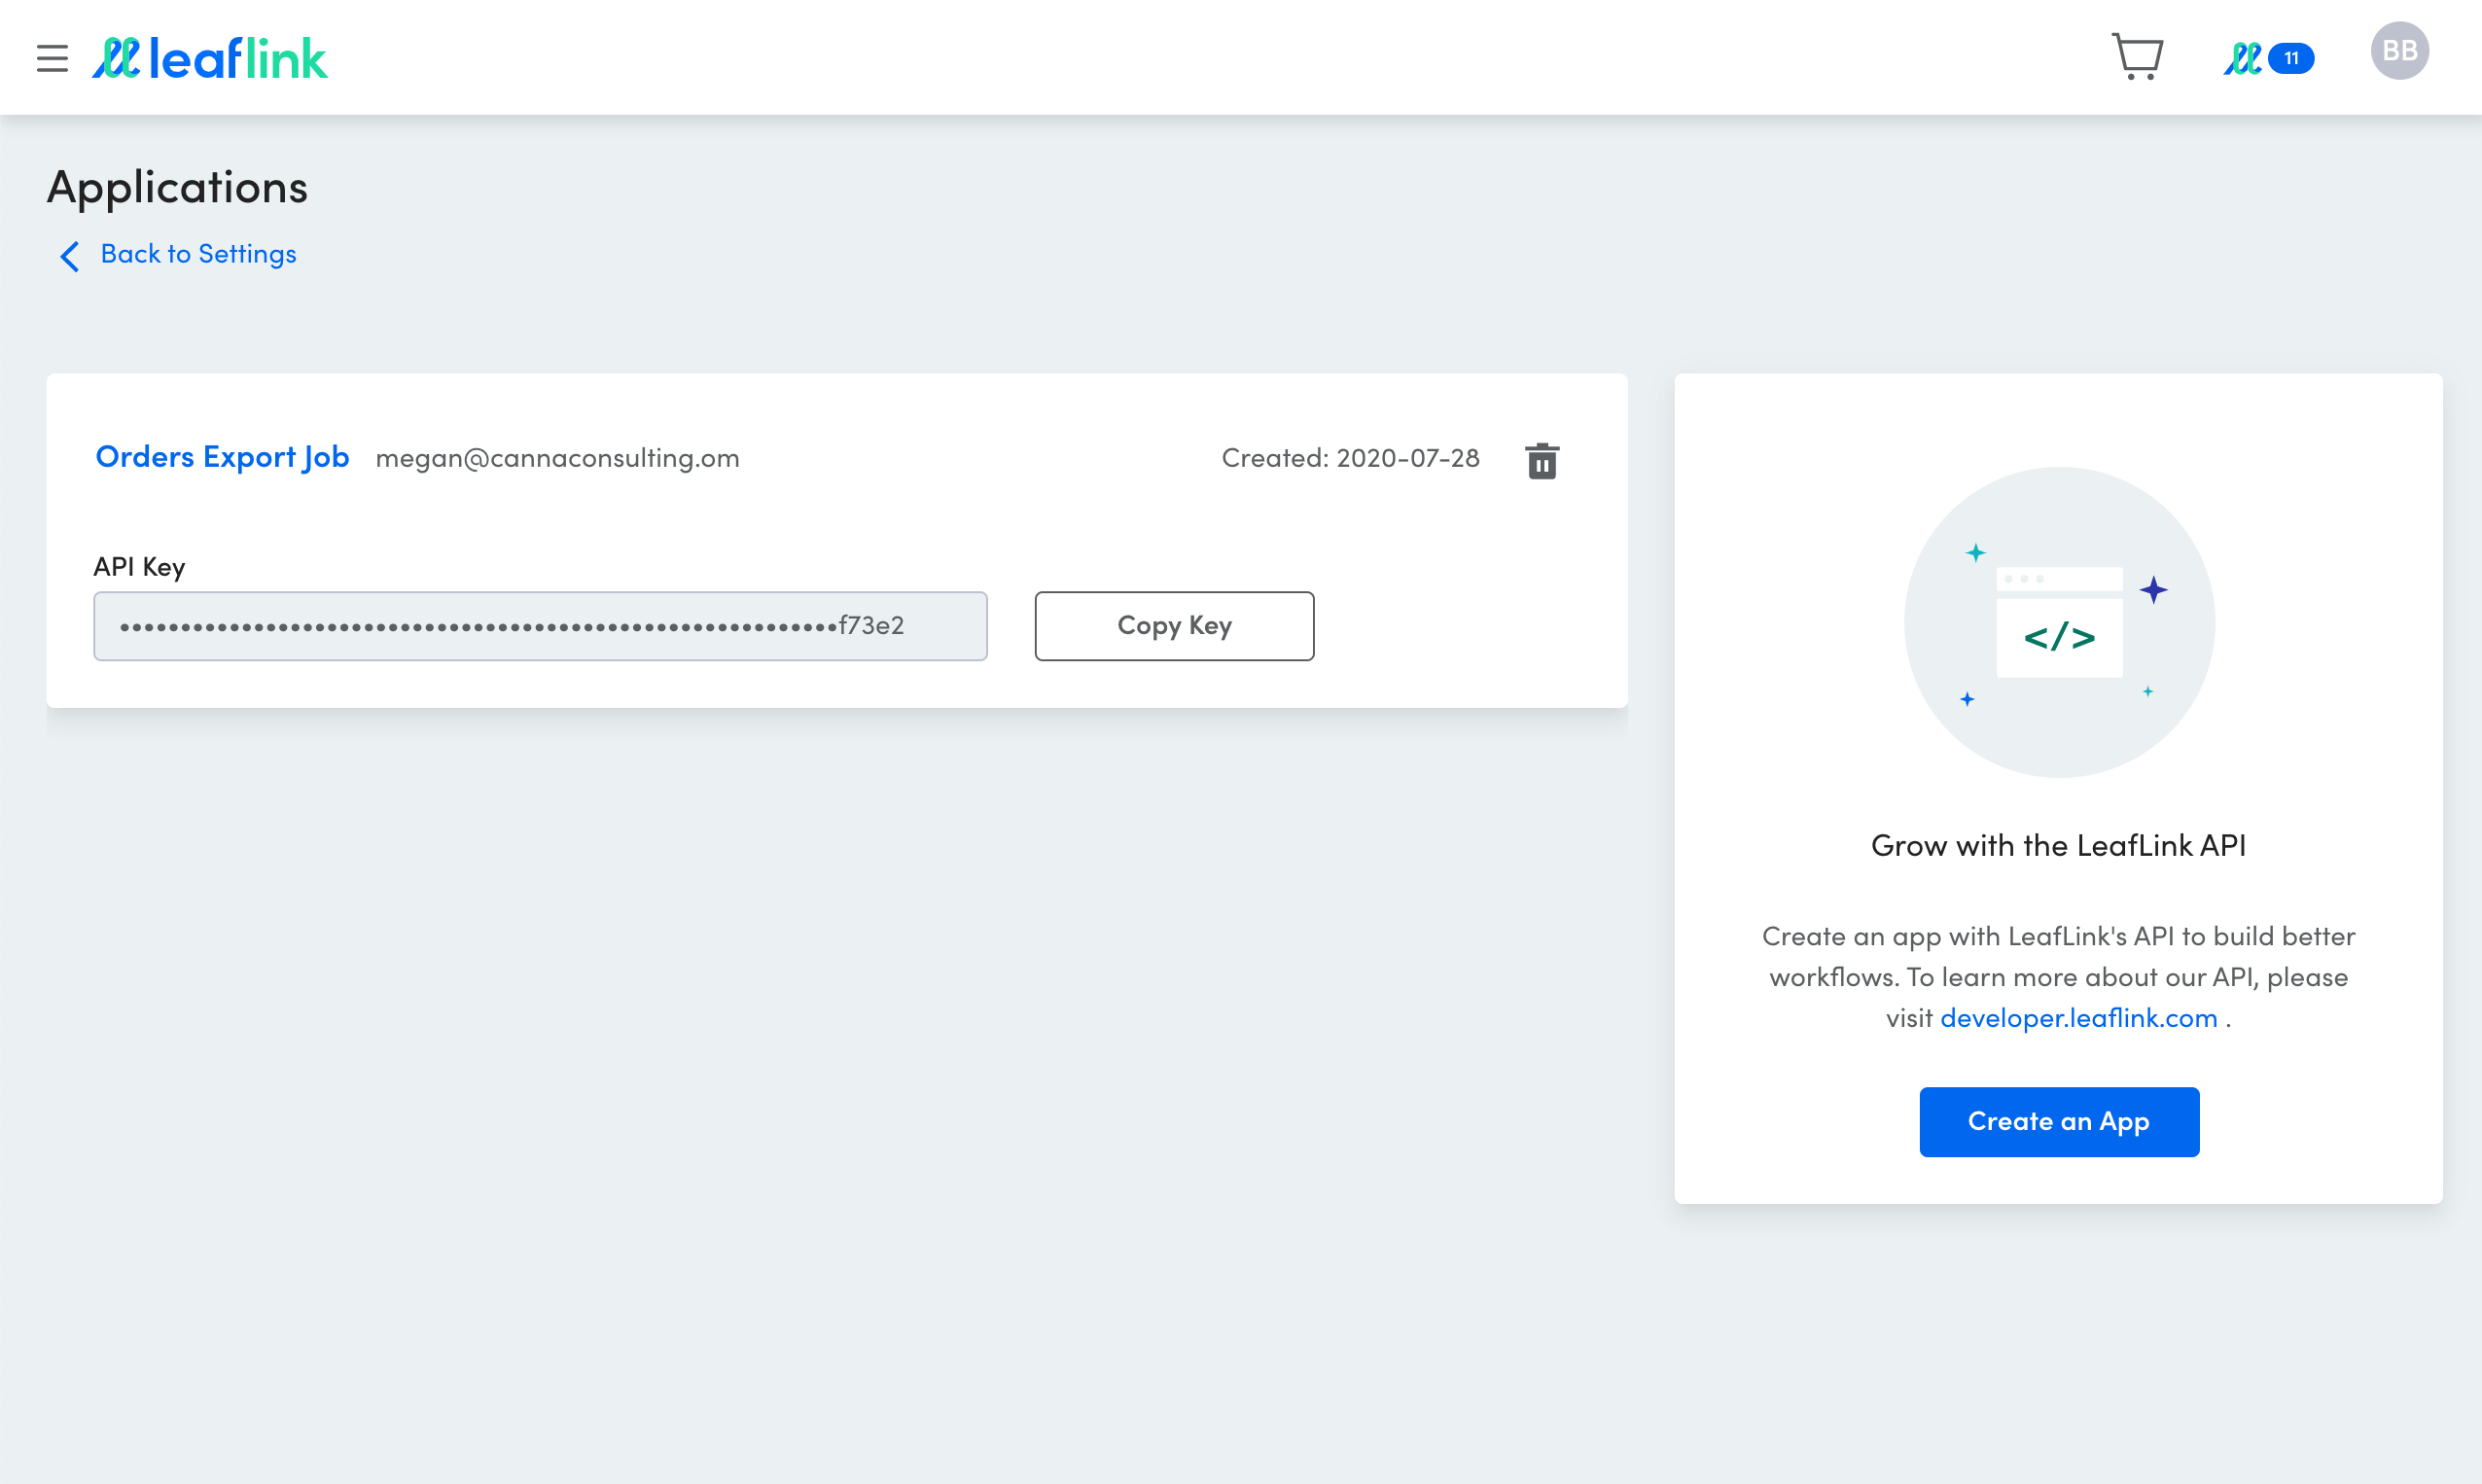
To access the API, you must obtain an Application API key. LeafLink’s API key creation is self-serve for active LeafLink users with the correct permissions. You can create and edit your key by logging into LeafLink, navigating to Settings, then Applications.
Applications provide developers with the API keys required to access the API. Applications are created by company admin users.
Create an Application
To generate an app level API key, an admin user must visit the Applications tab in Settings.
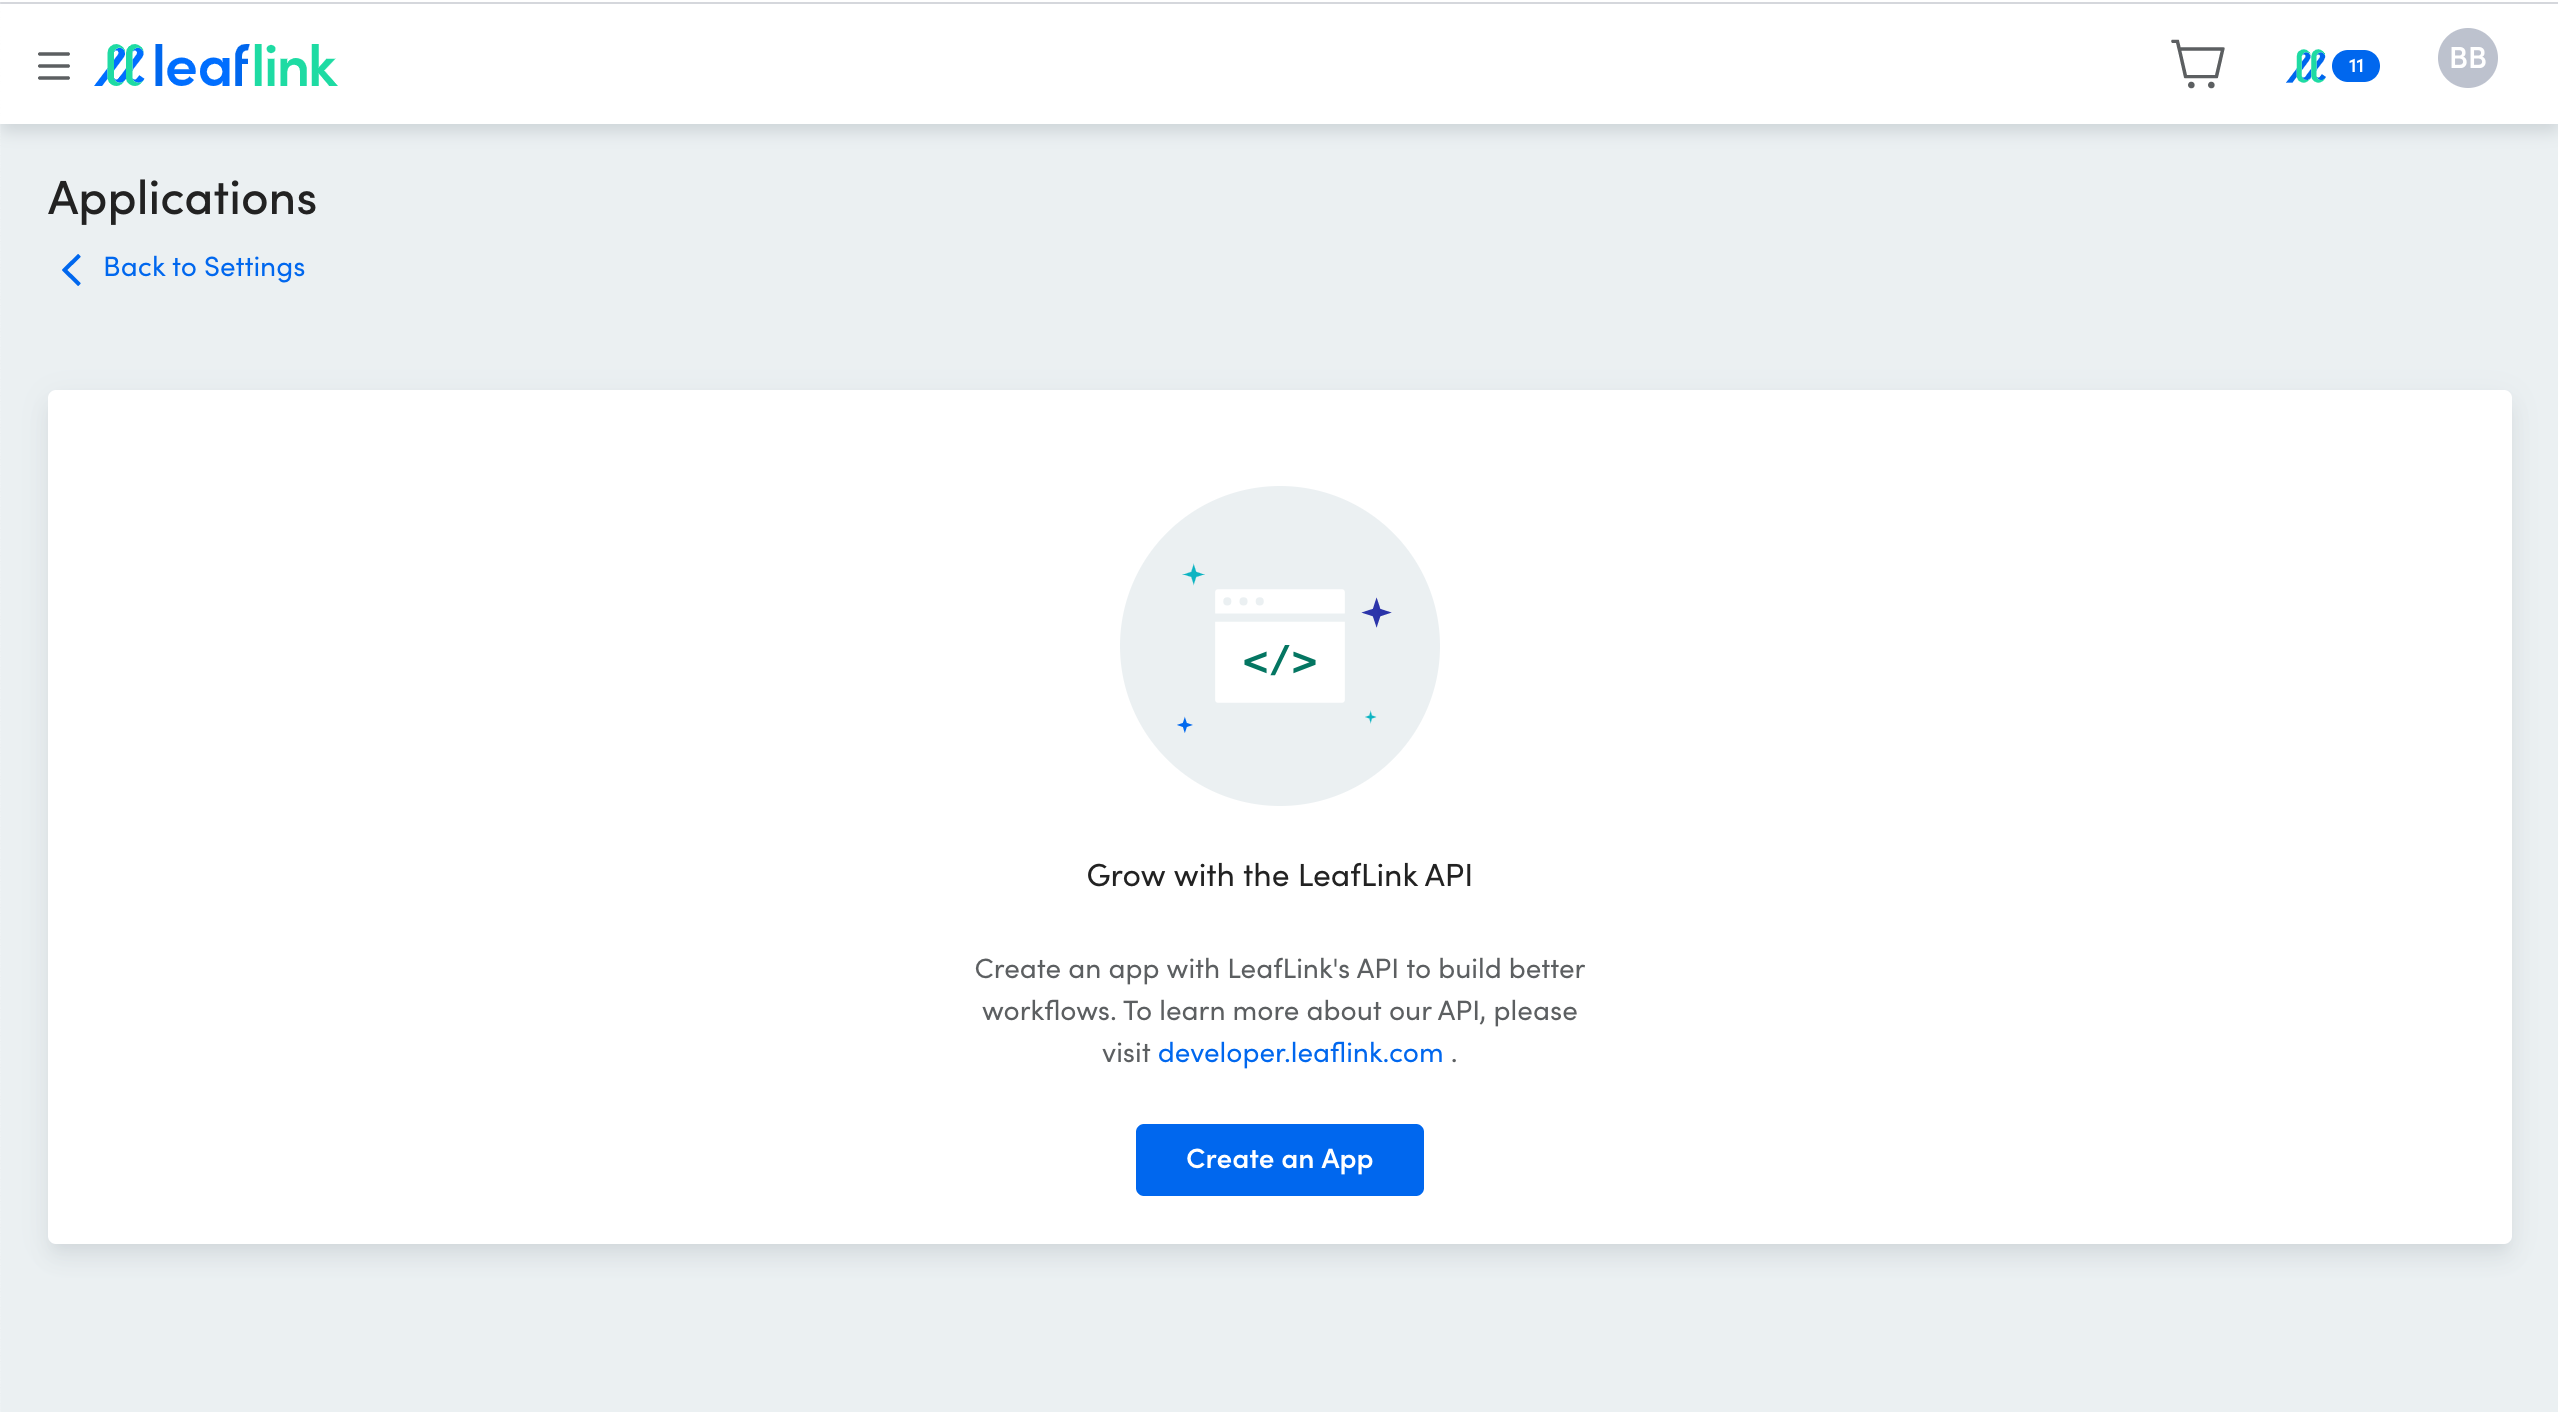
In the Application tab, click Create an App. This opens the application modal.
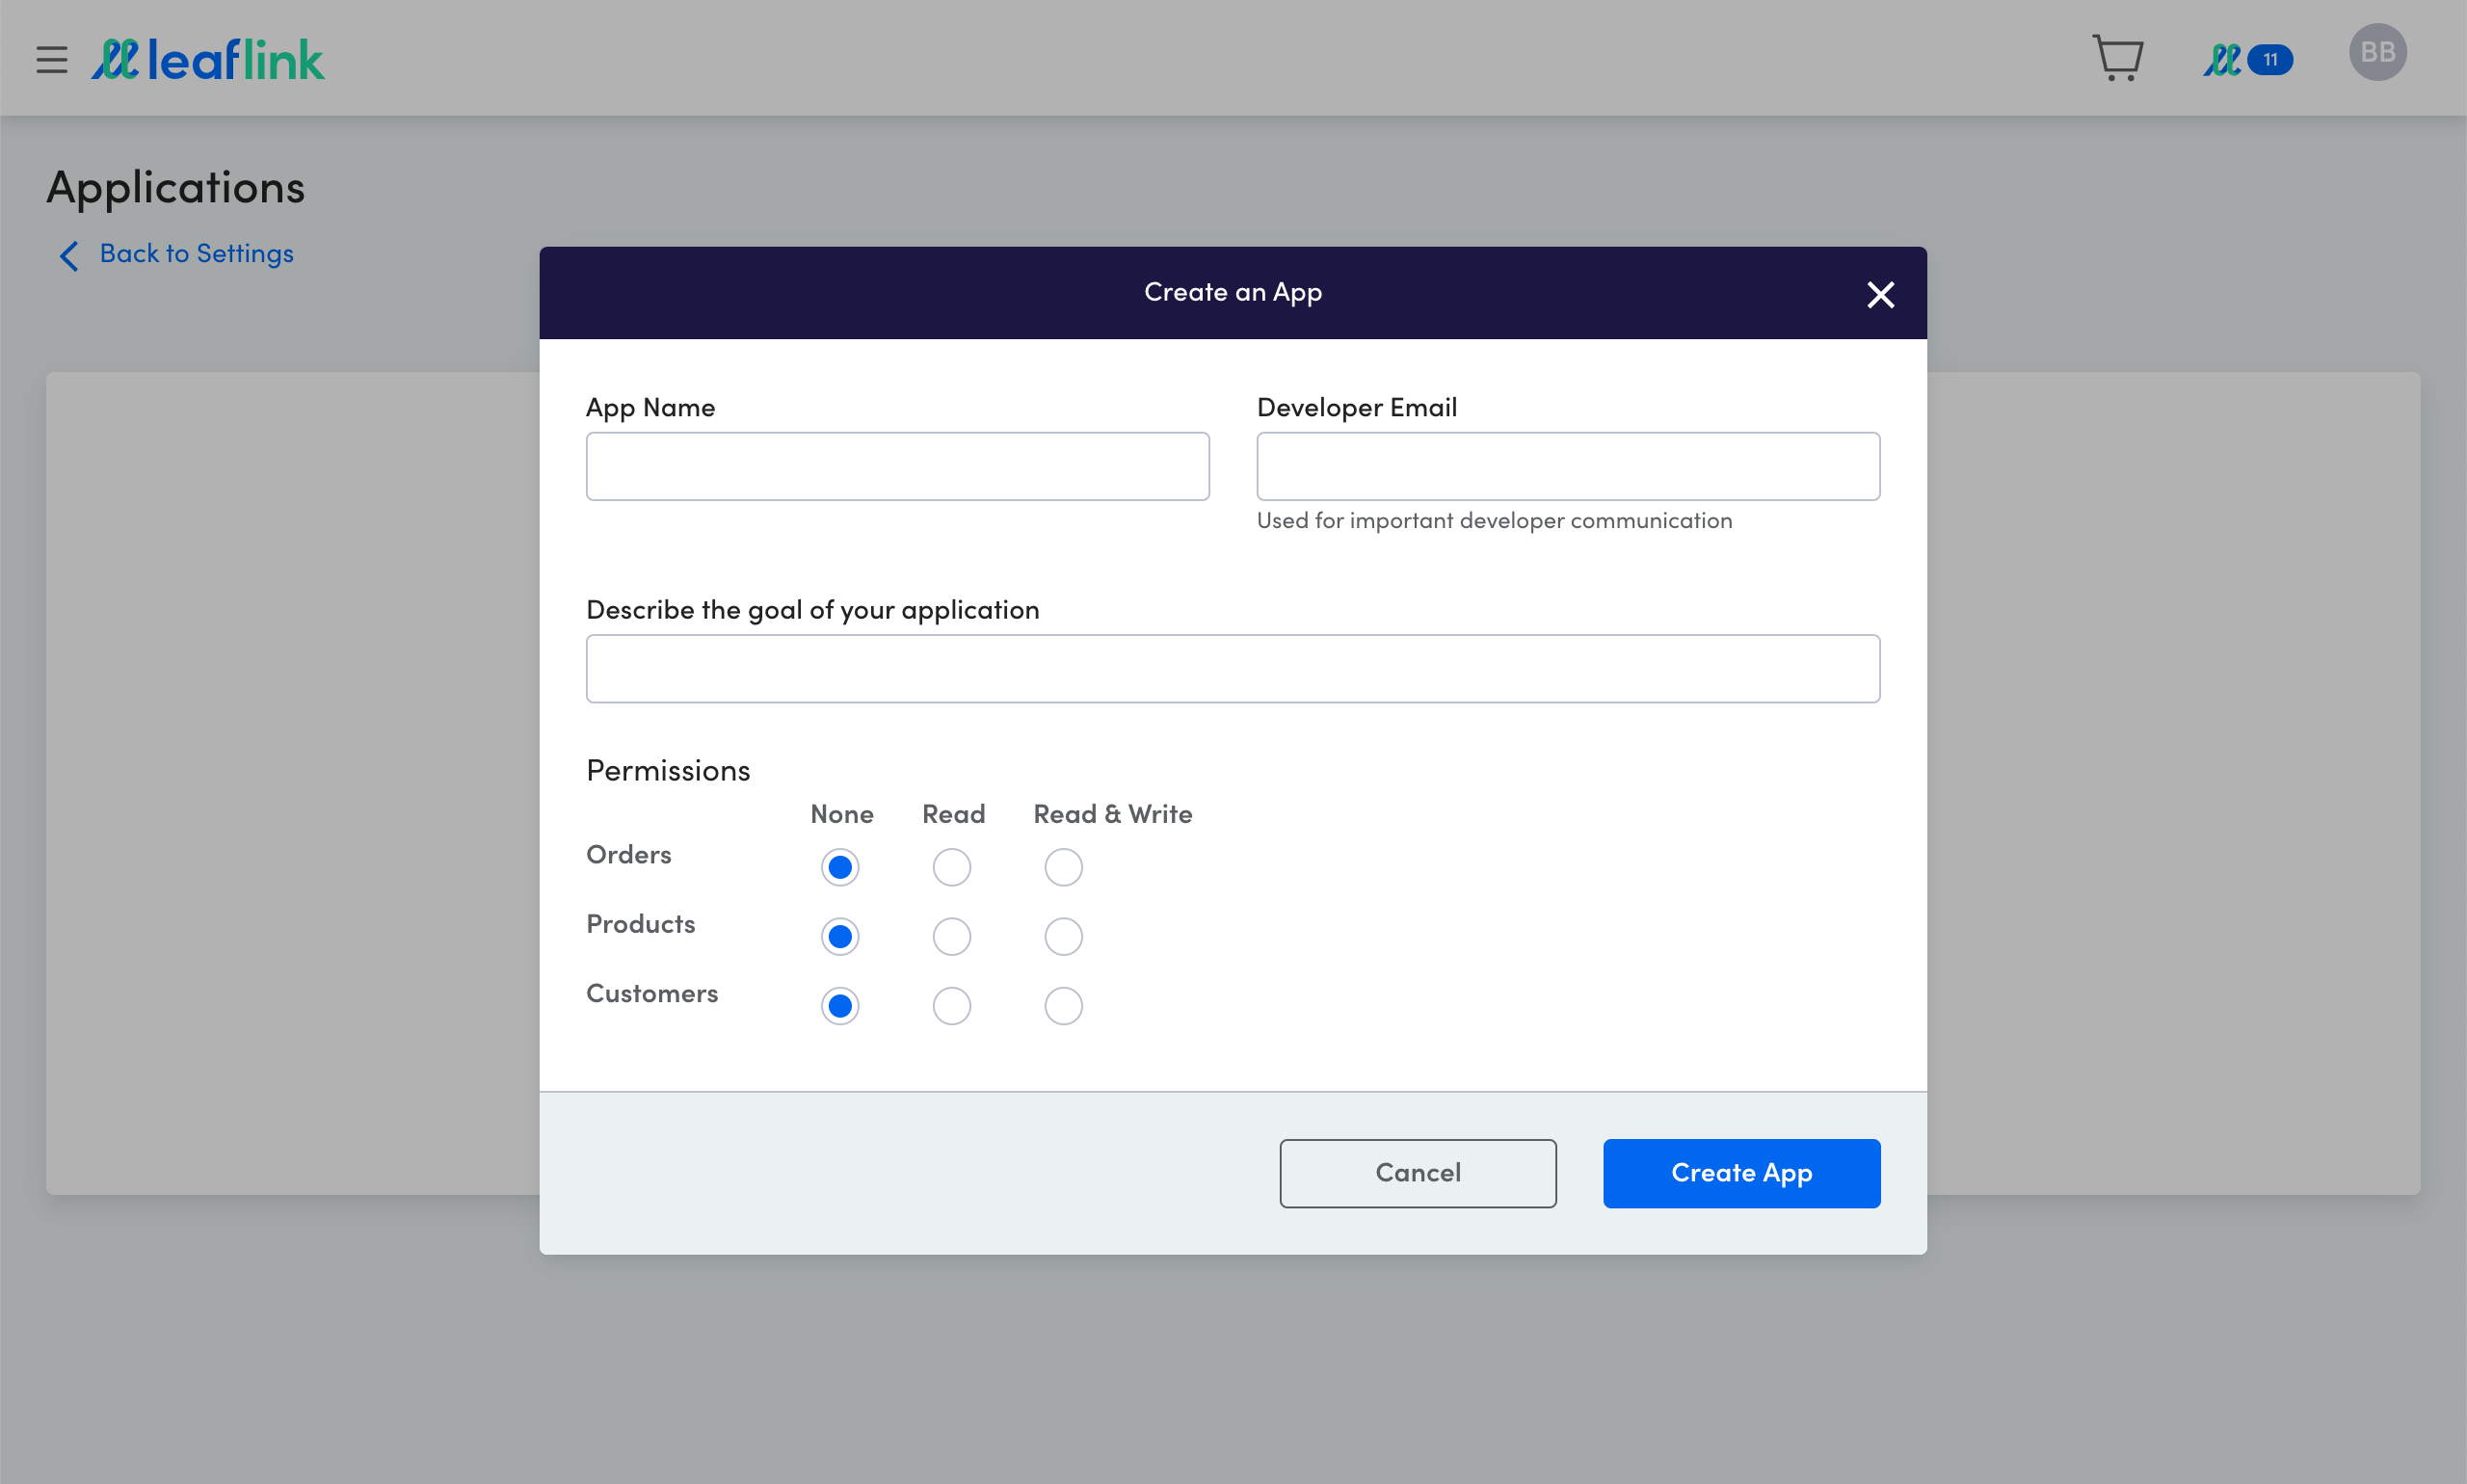
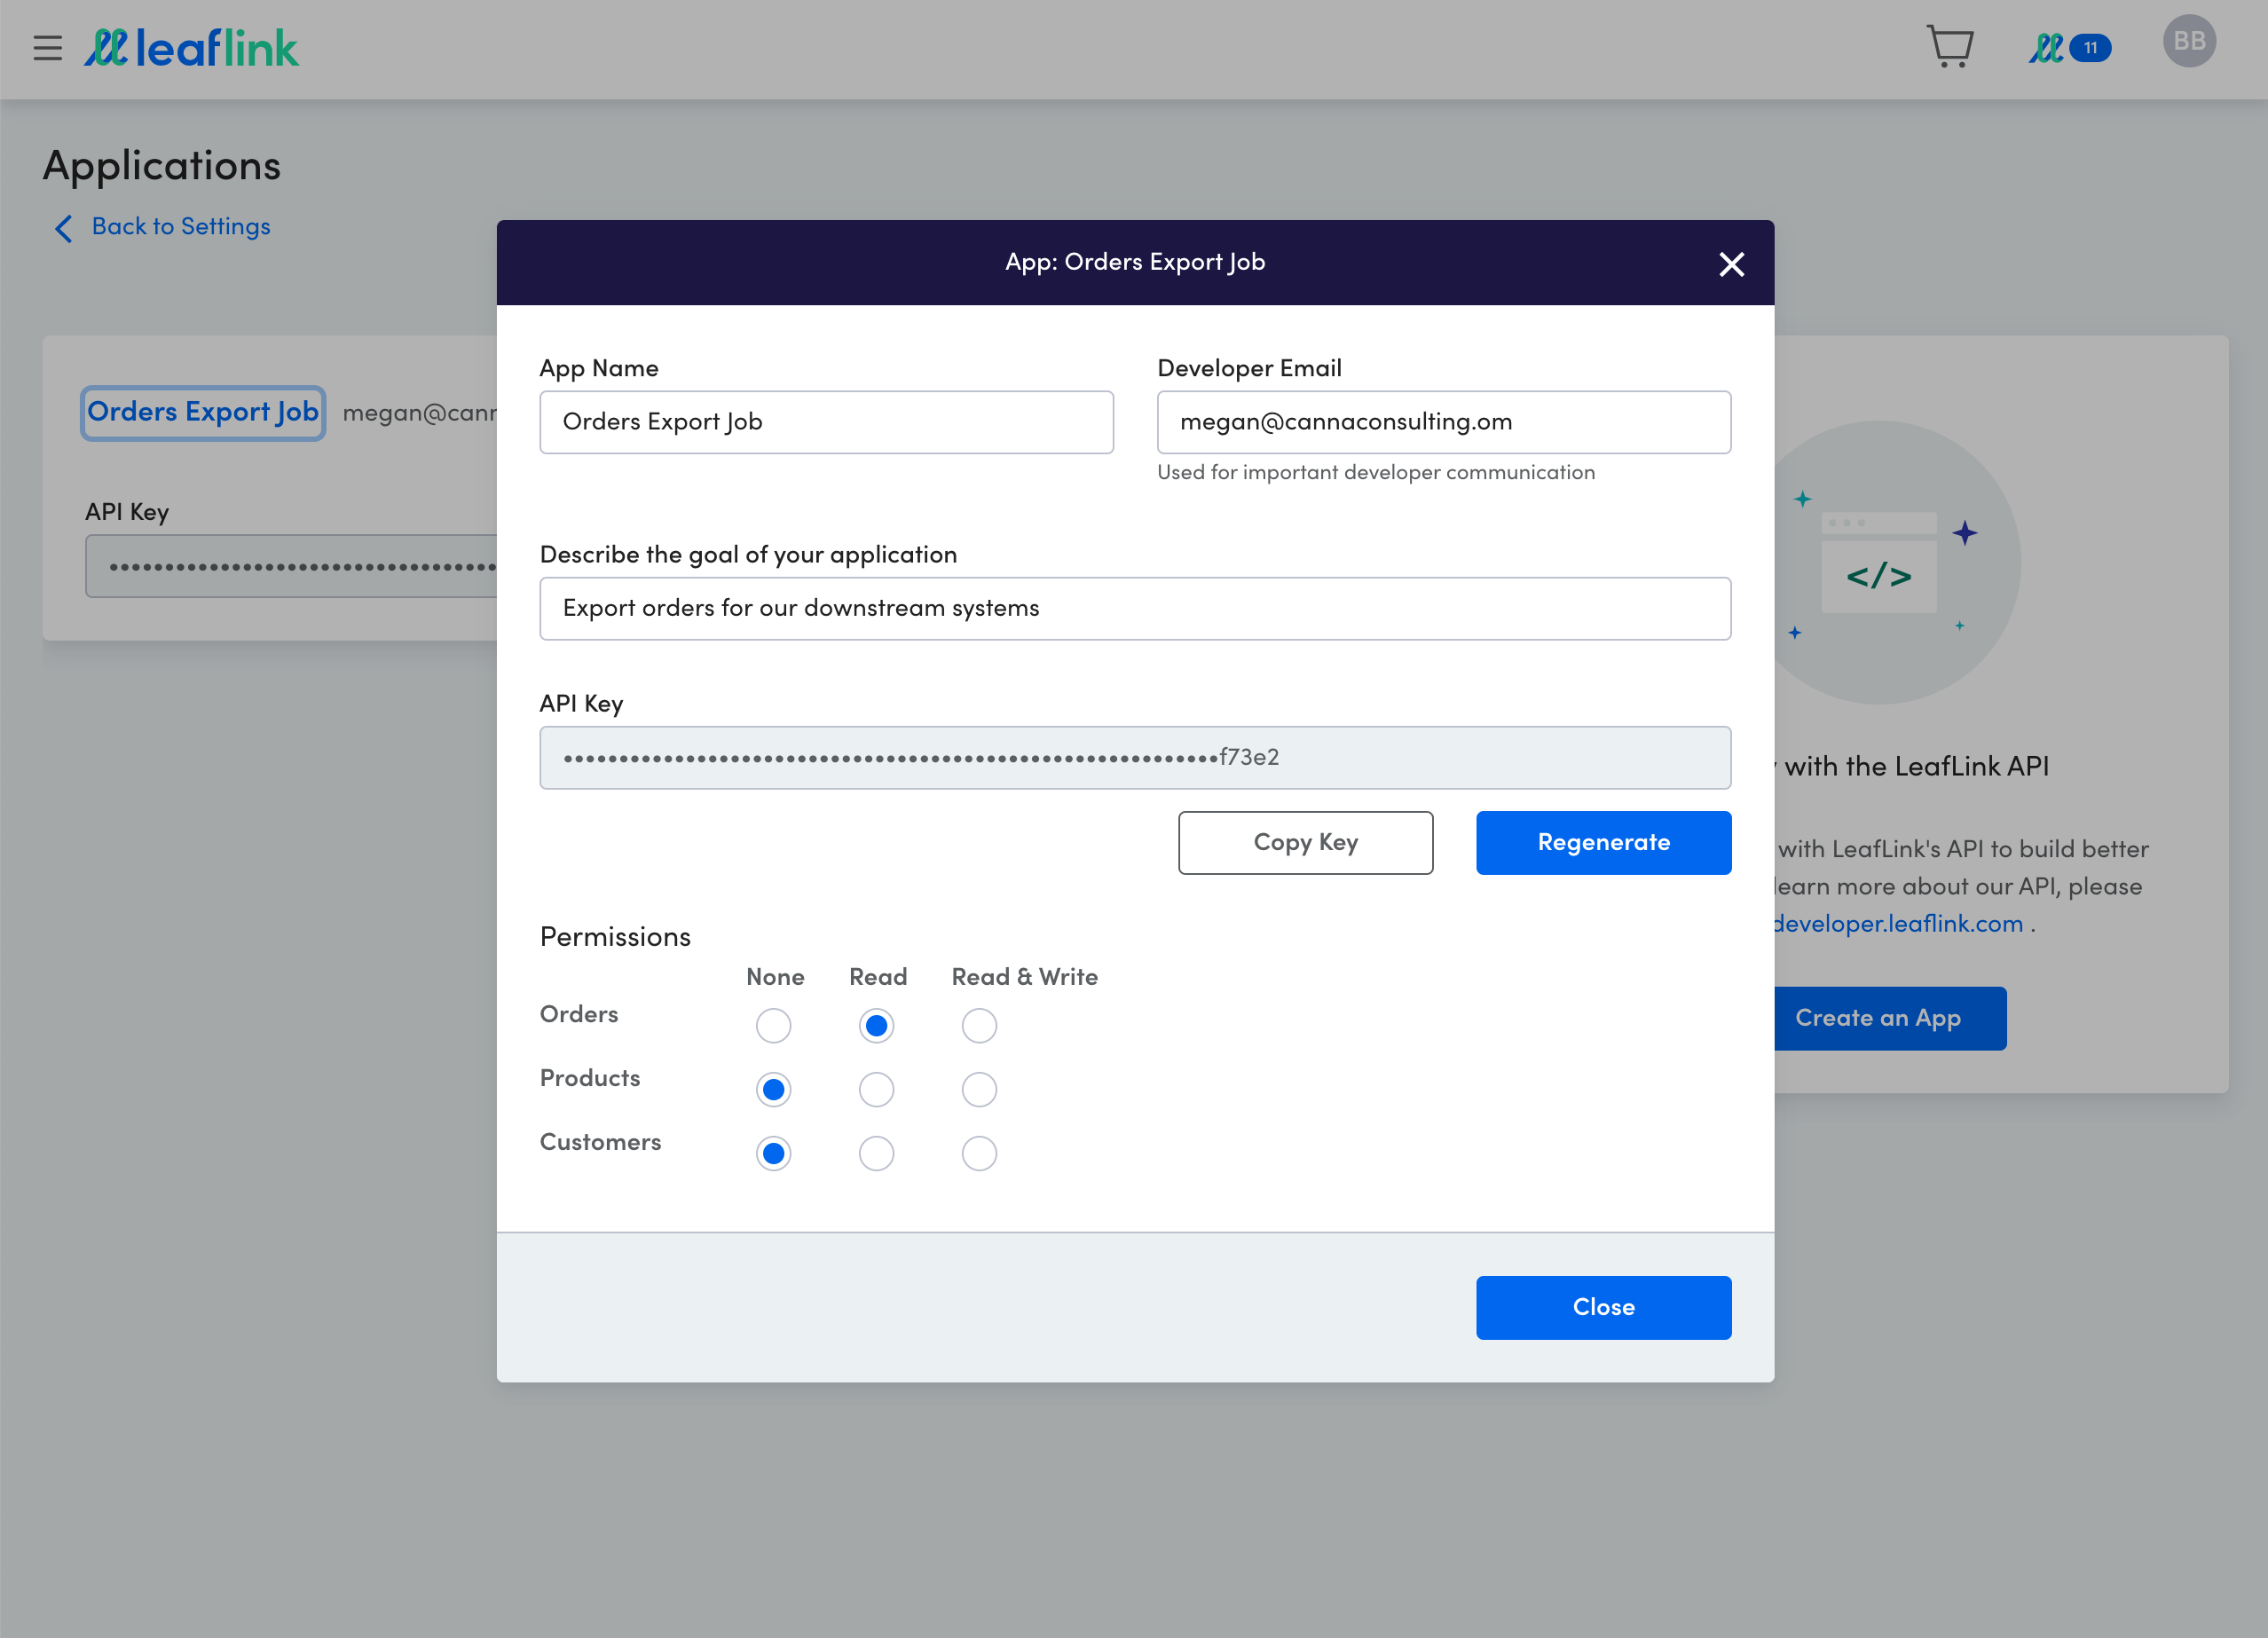
The application modal has four sections.
- App Name - The name for the application
- Developer Email - An email address for the developer that will be building and maintaining the application. We use this contact information for important developer communications.
- Description - Describe the goal of your application
- Permissions - Define the level of API access for the application.
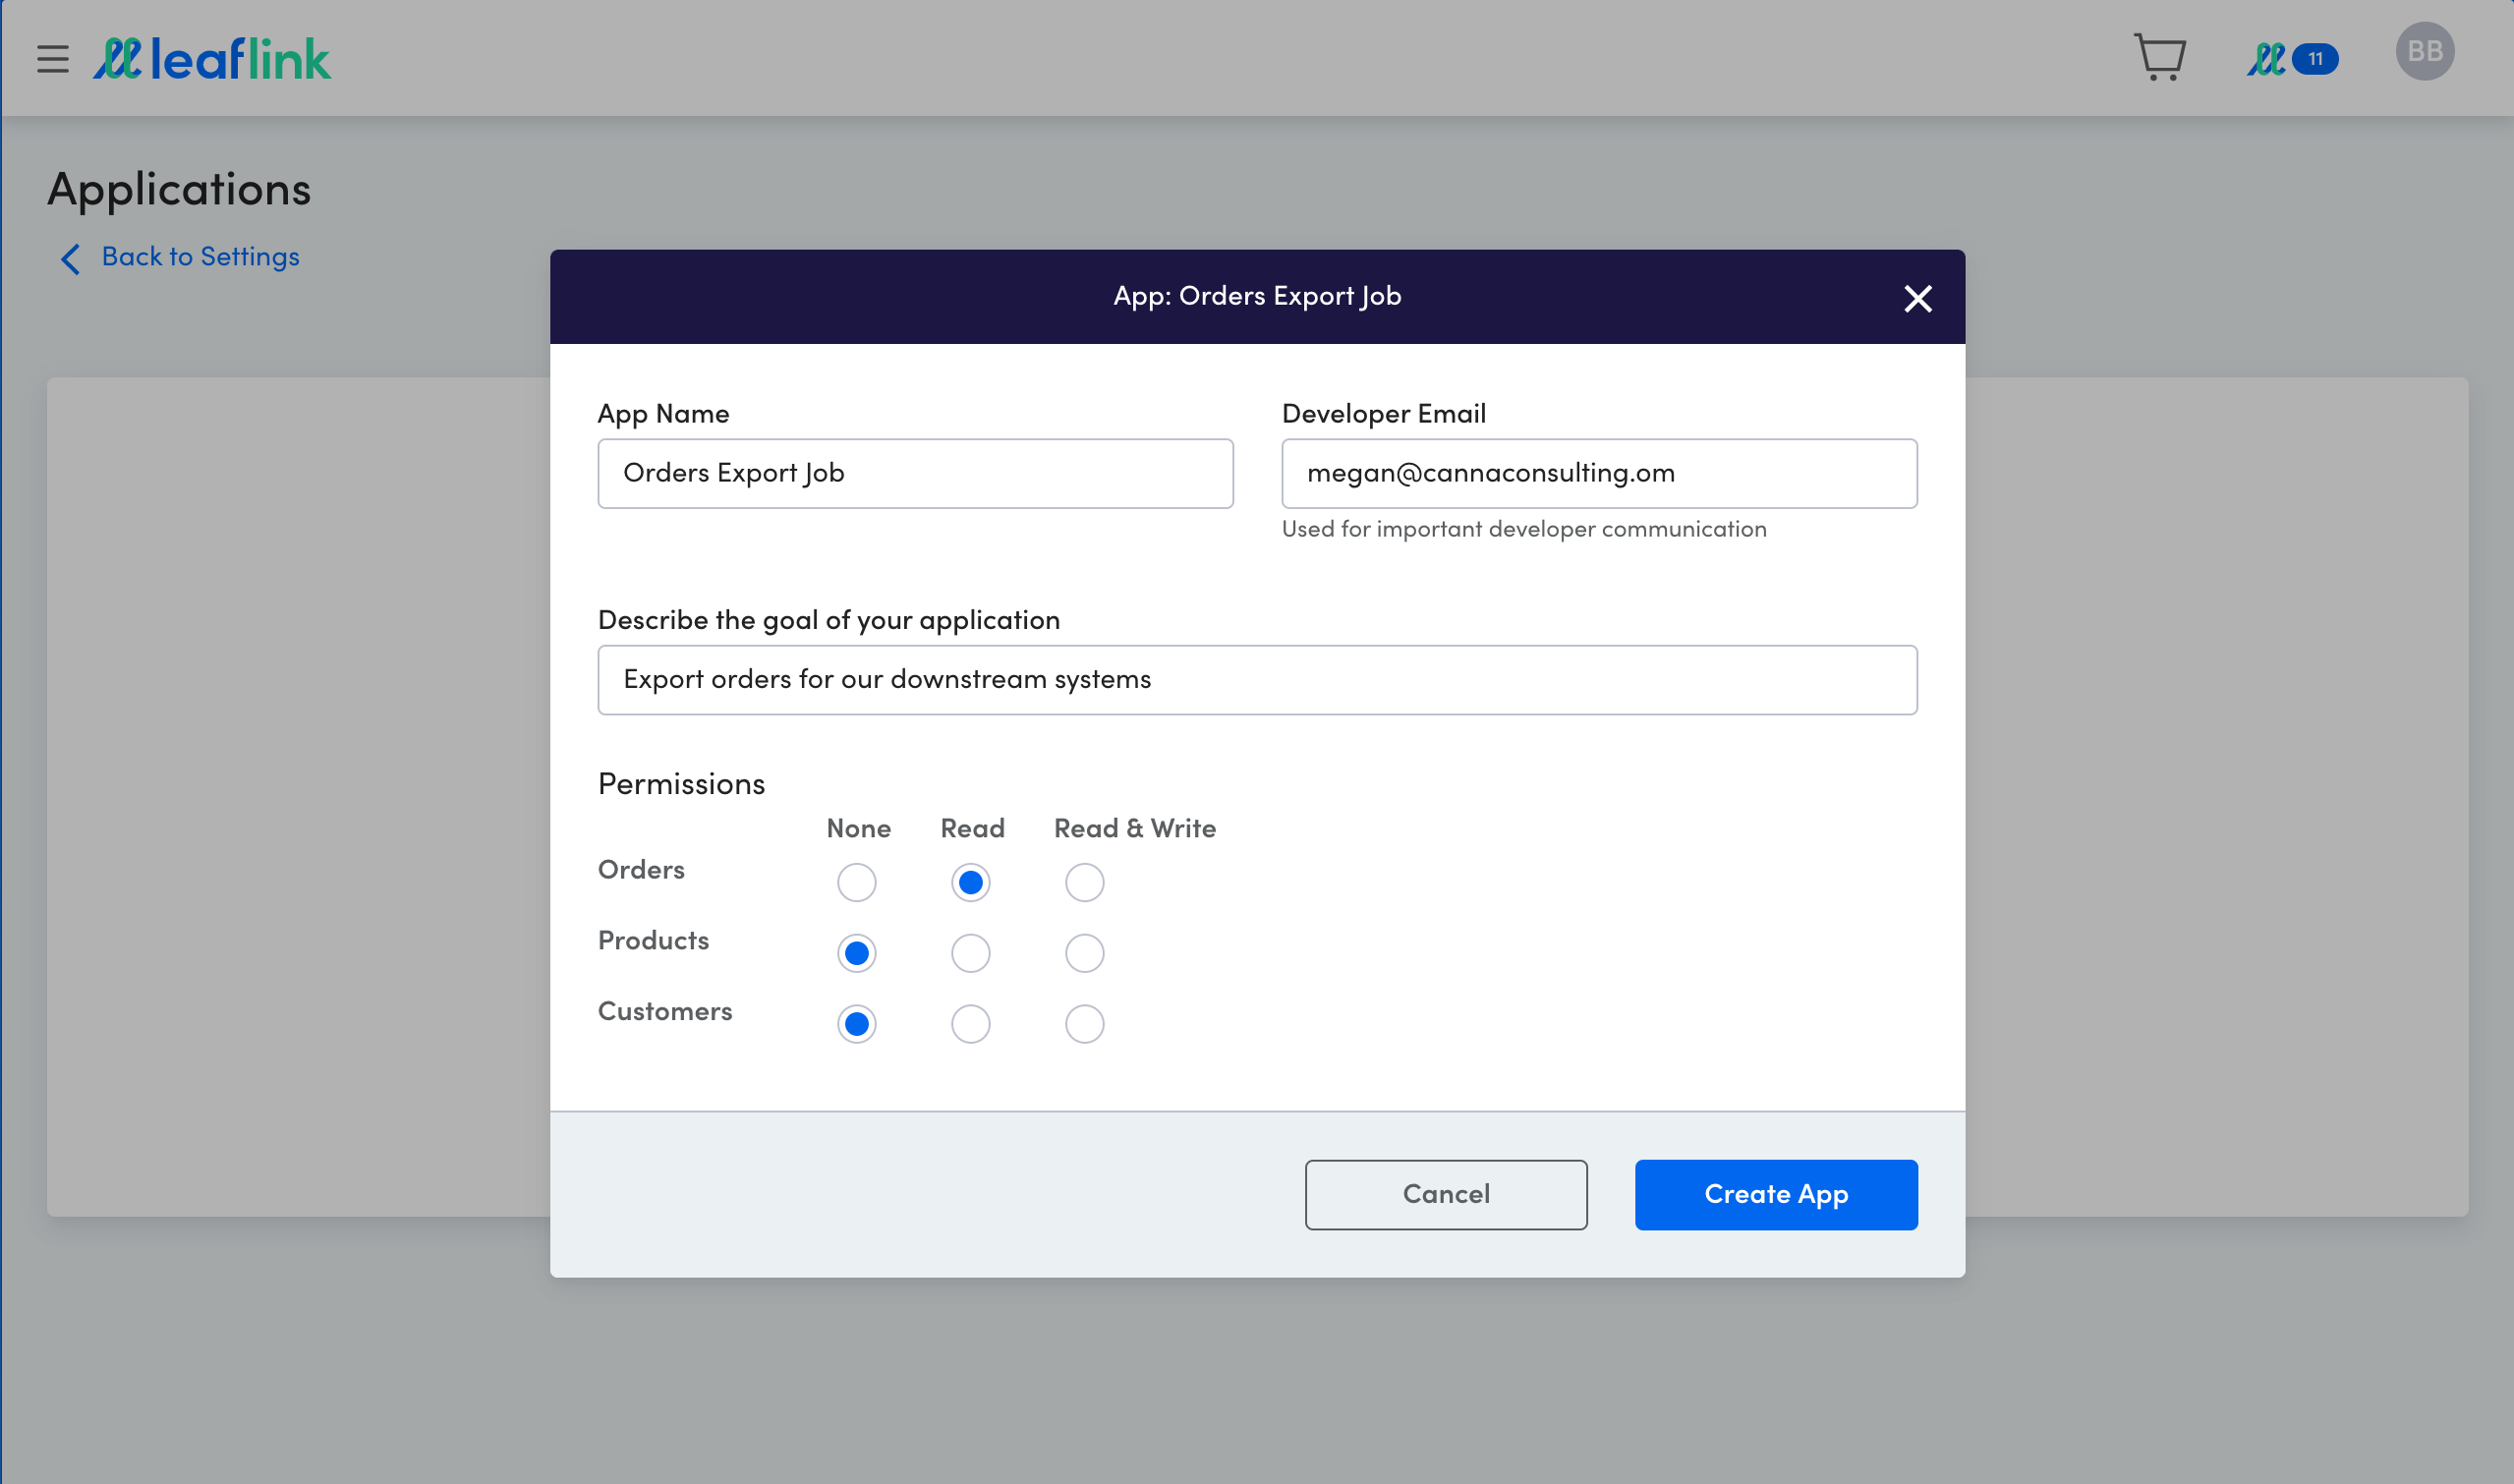
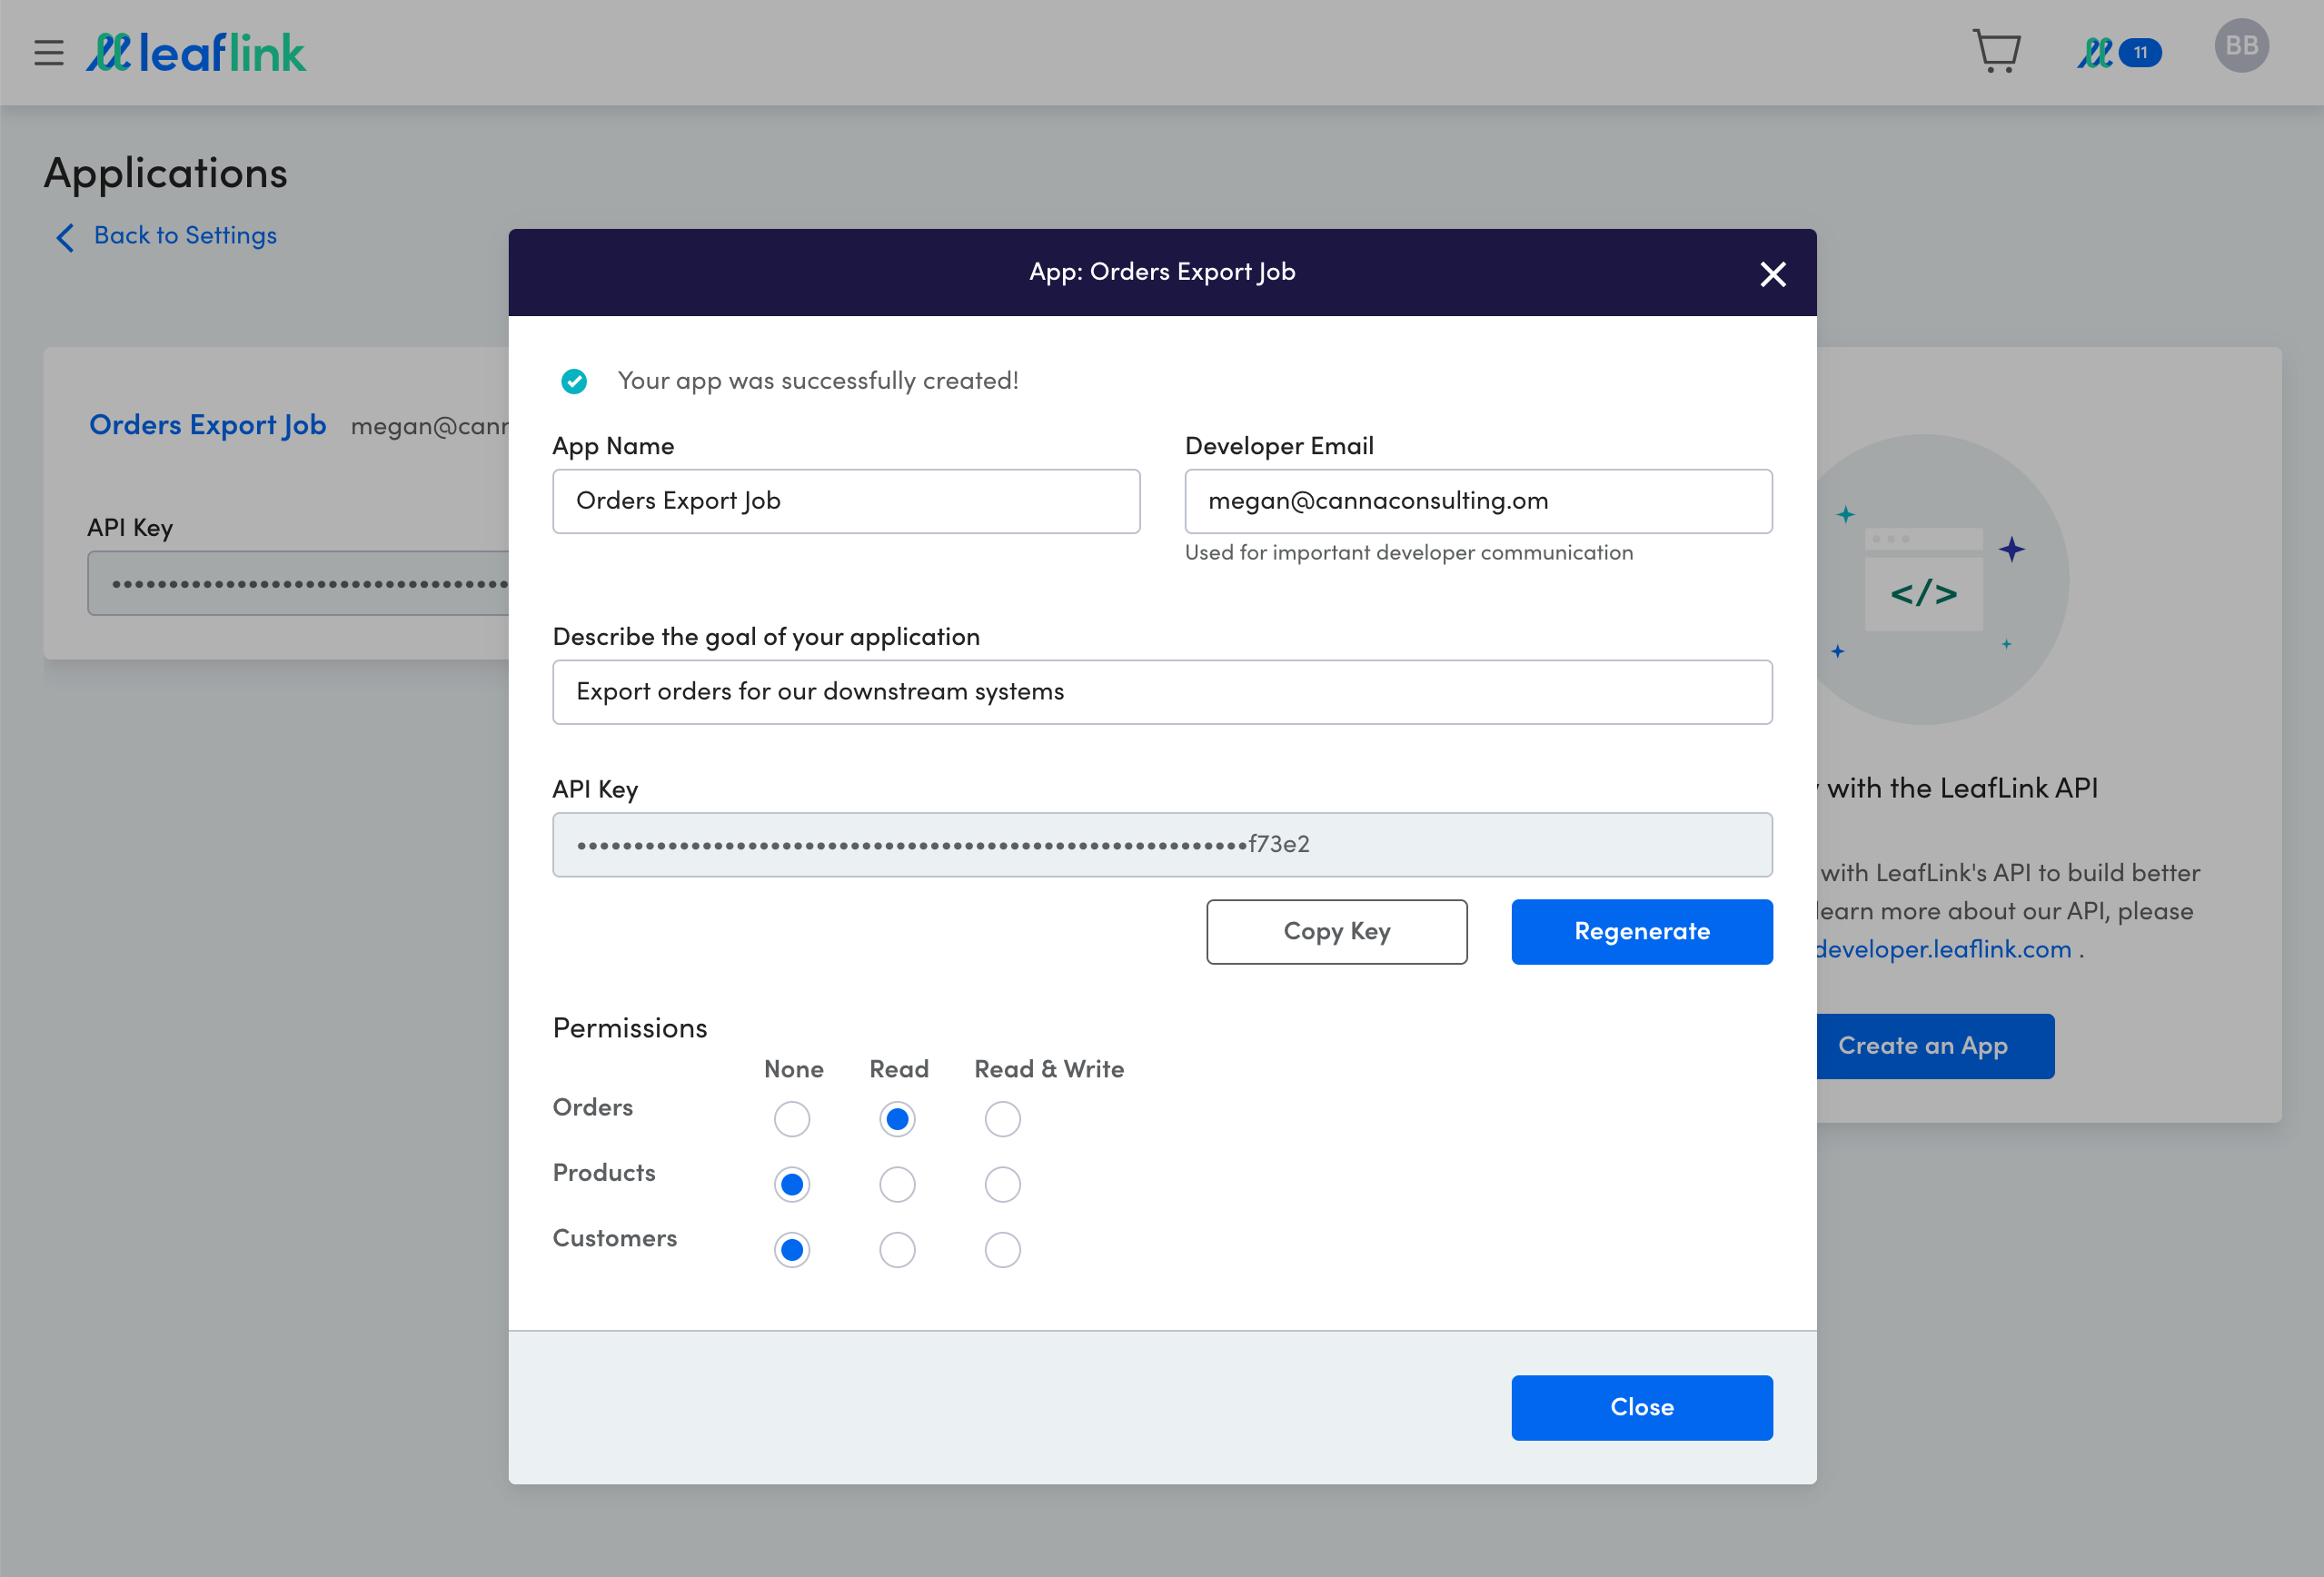
When you are finished entering the details, click Create App. Application is created and an API key is generated. This API key must be used by the developer to access the API.
Best Practice
Create an application for each unique integration that you build. Sharing an API key with full permissions across multiple integrations limits your ability to control API access and can overexpose your company's data.
Edit an Application
At any point in time, an admin user can view and edit application details.
Existing applications appear in a list on the Applications tab.
To view details, click on the application's name. This opens the application modal.
You can edit any of the details or regenerate the API key.
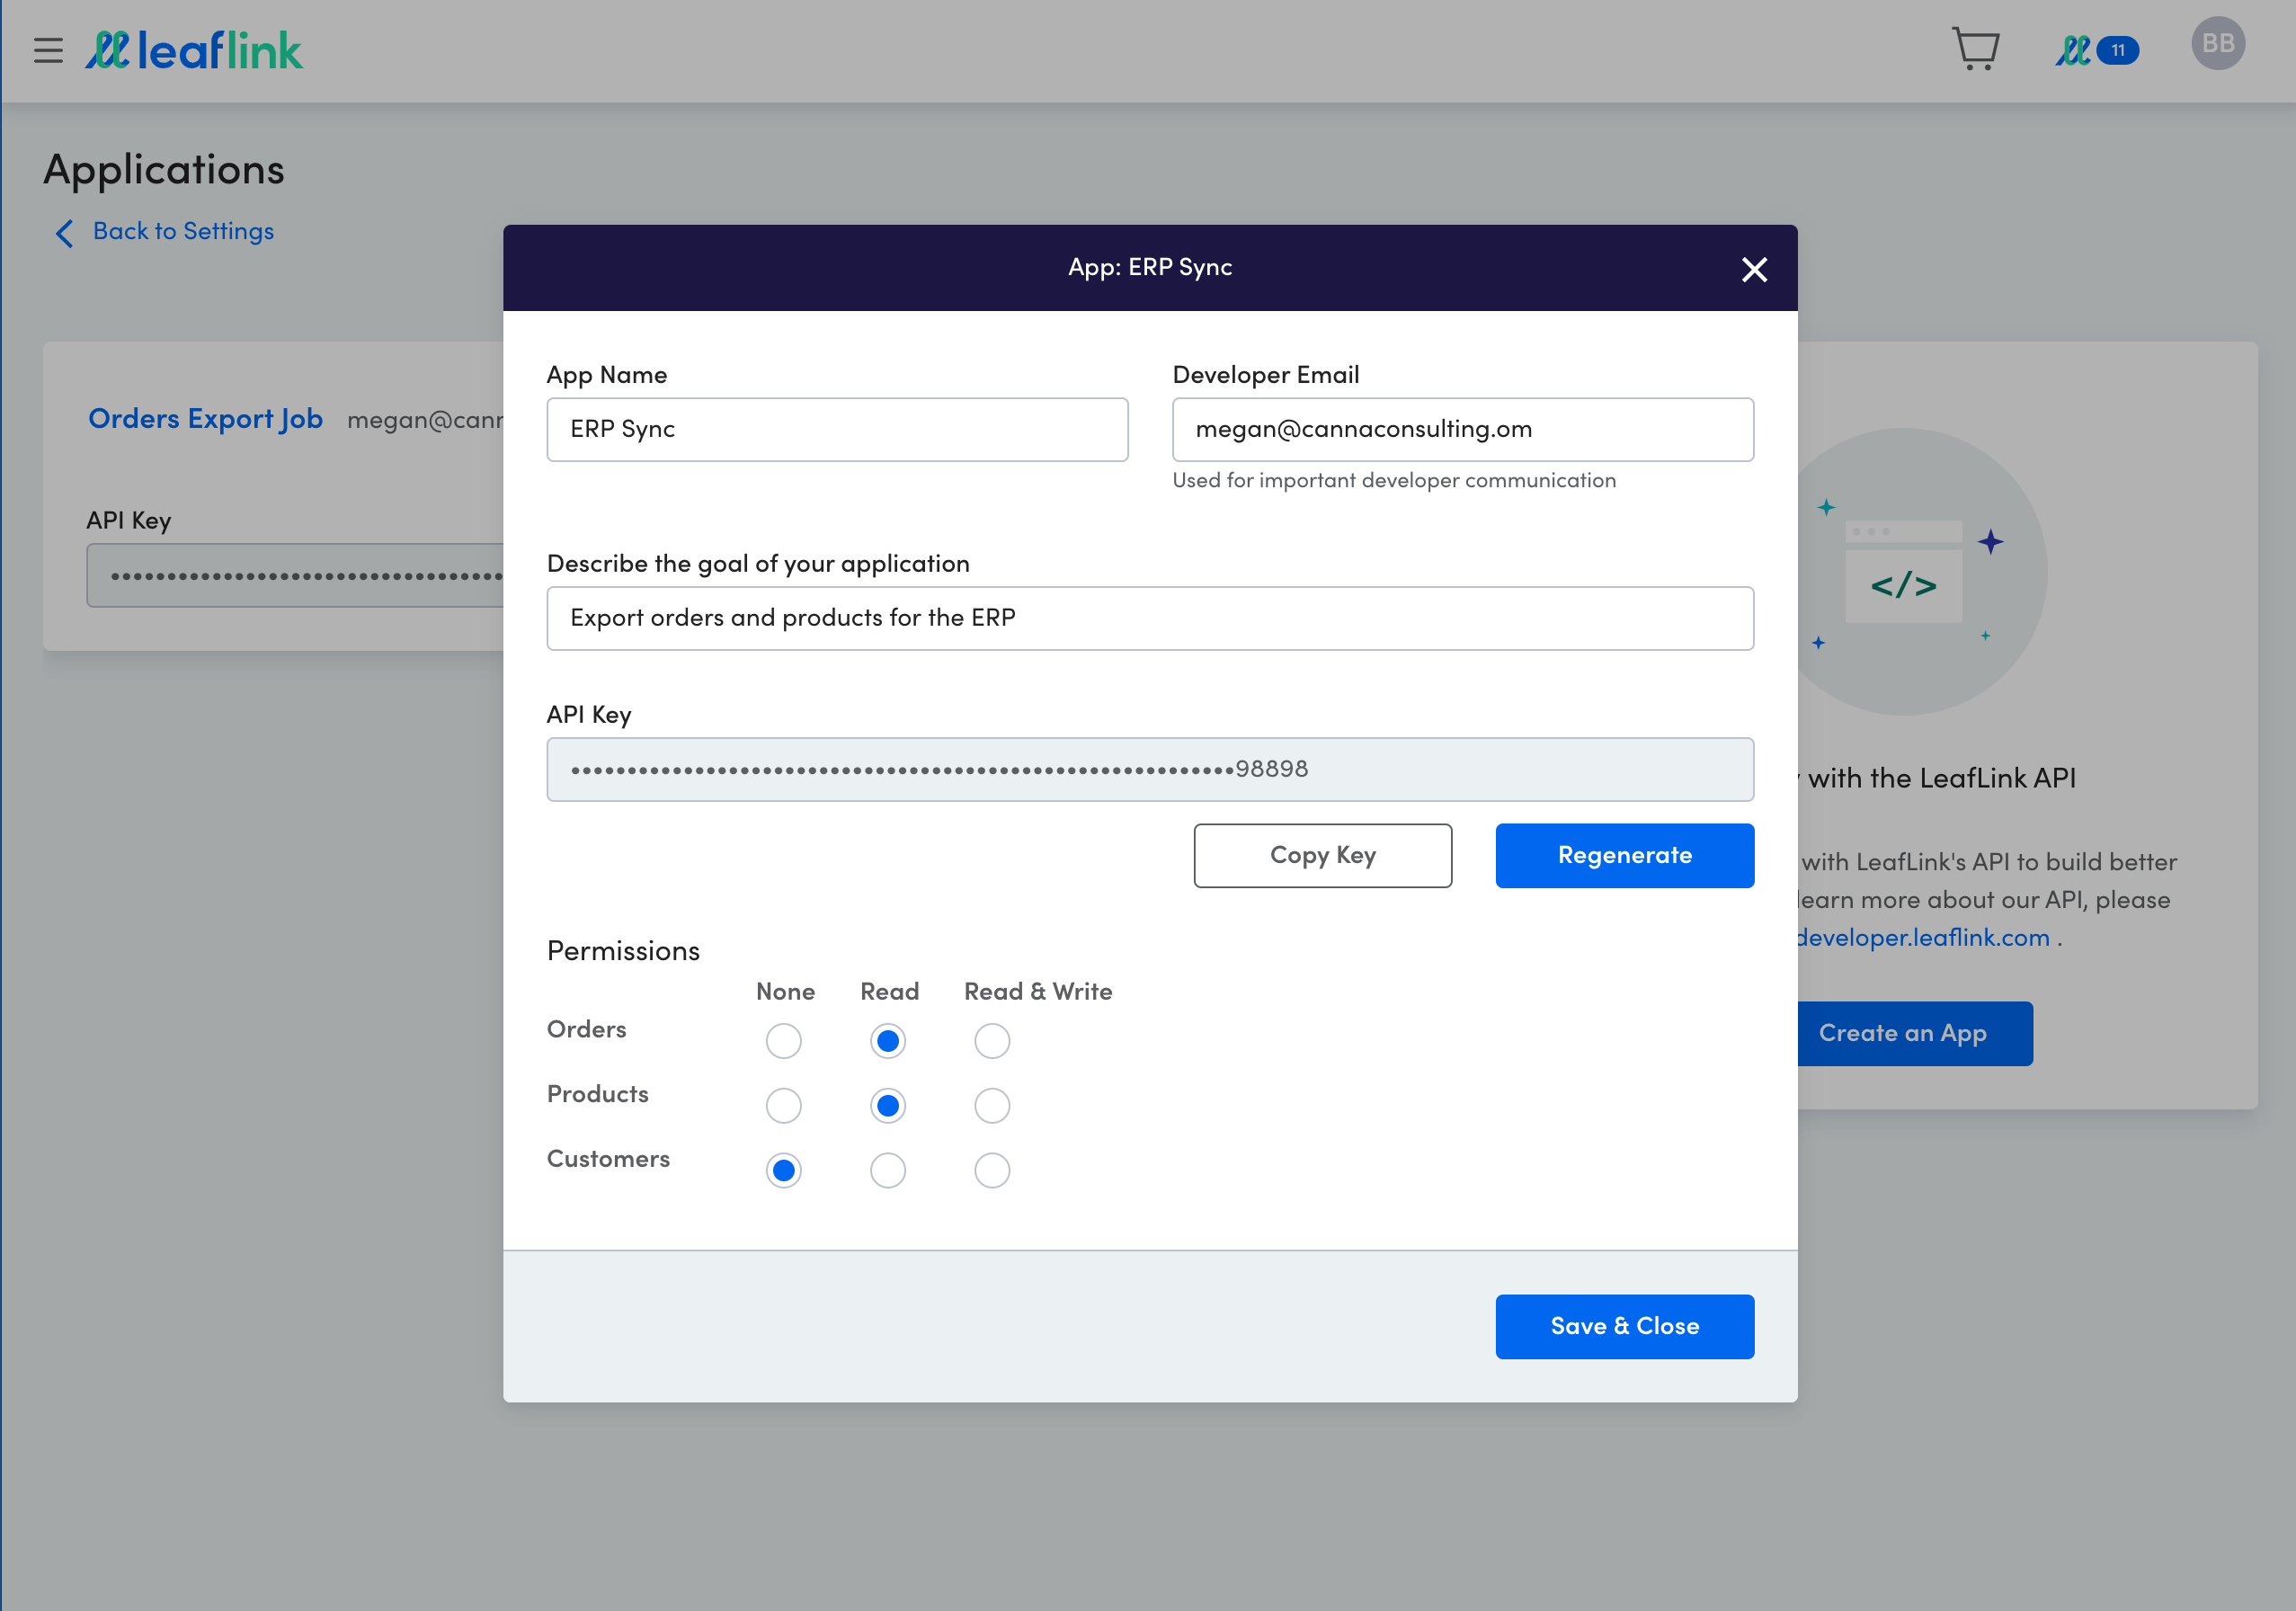
Once you have made the desired changes, click Save & Close. The application will update immediately.